Create custom kinetic walls and kinetic wall animations within Maya in a matter of minutes. Among the many tools available, the Kinetic Wall allows you to use custom shapes, animation presets and quick selections to speed up the workflow.
Features
- Create and adjust kinetic walls with different primitive objects.
- Replace elements with custom objects while retaining animation.
- Animation presets and animation offset tools with different directions.
- Select patterns and create custom selections.
Gallery

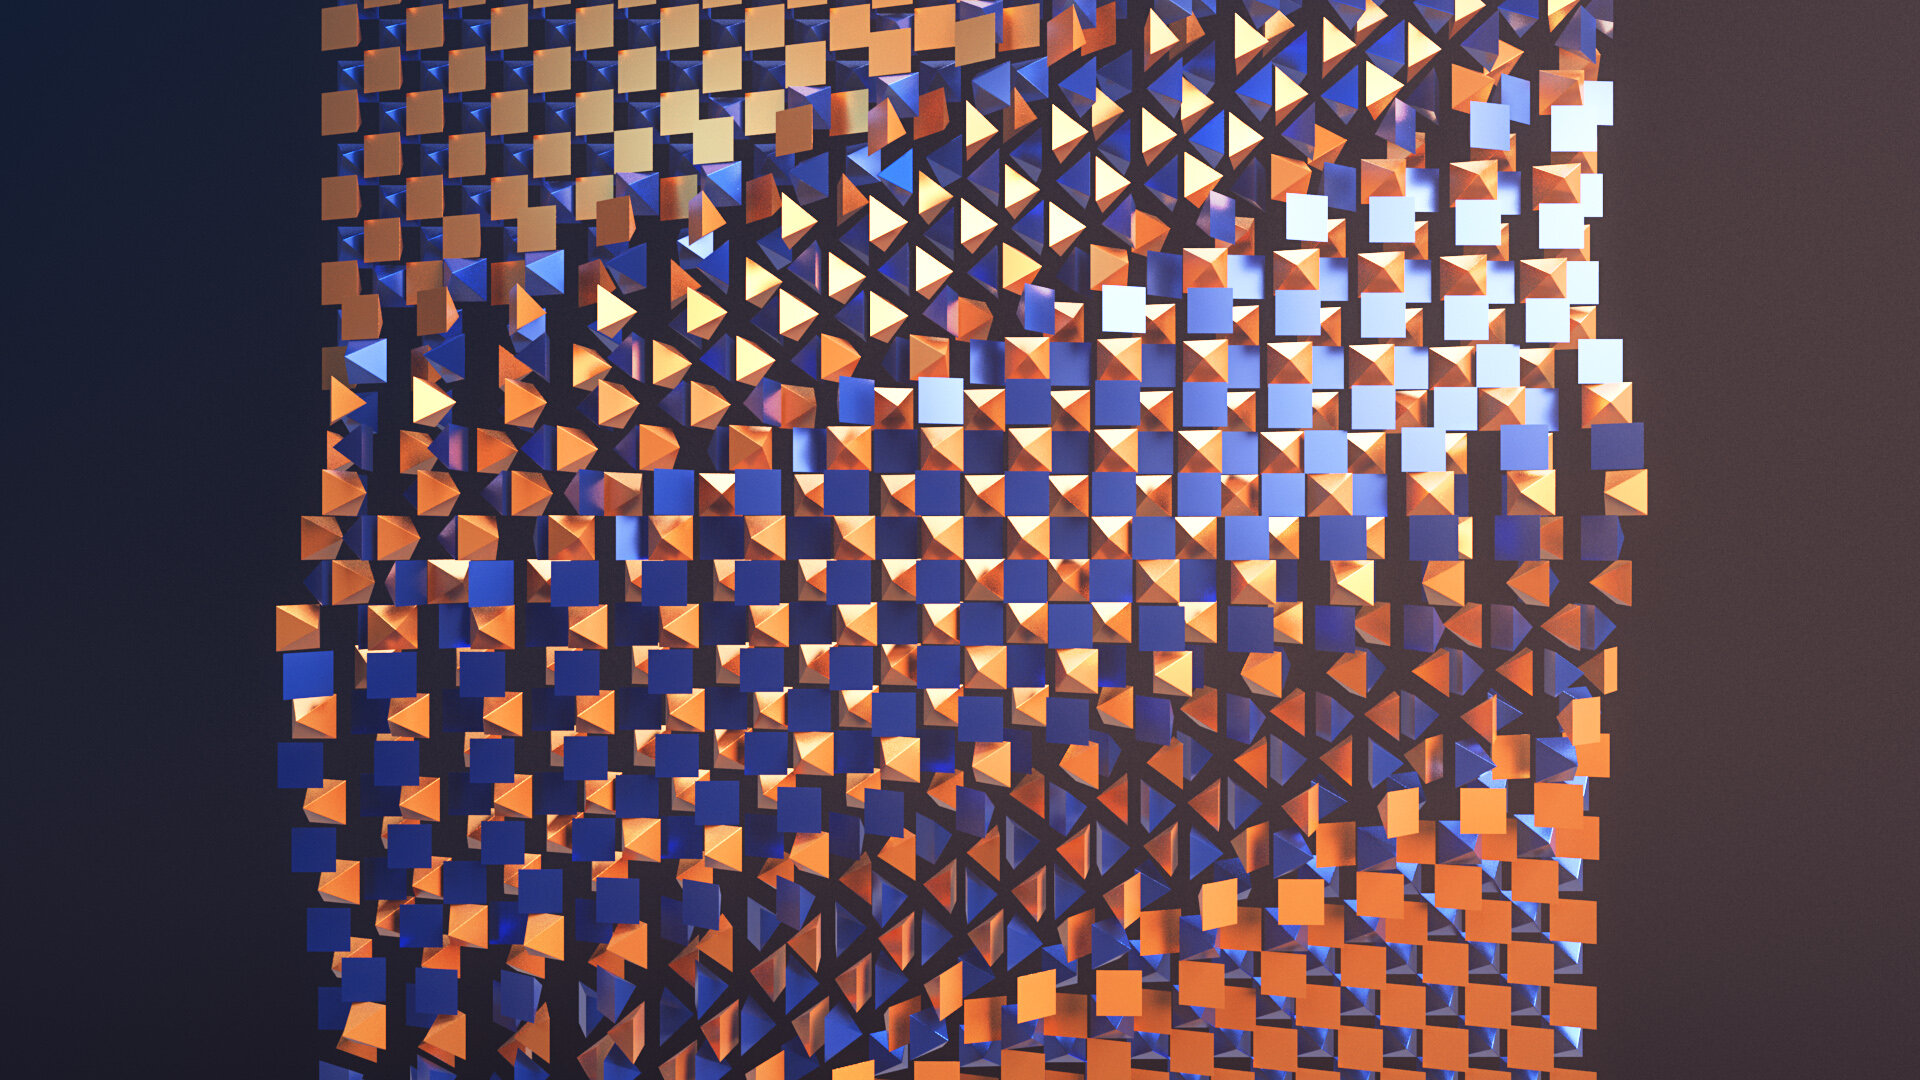
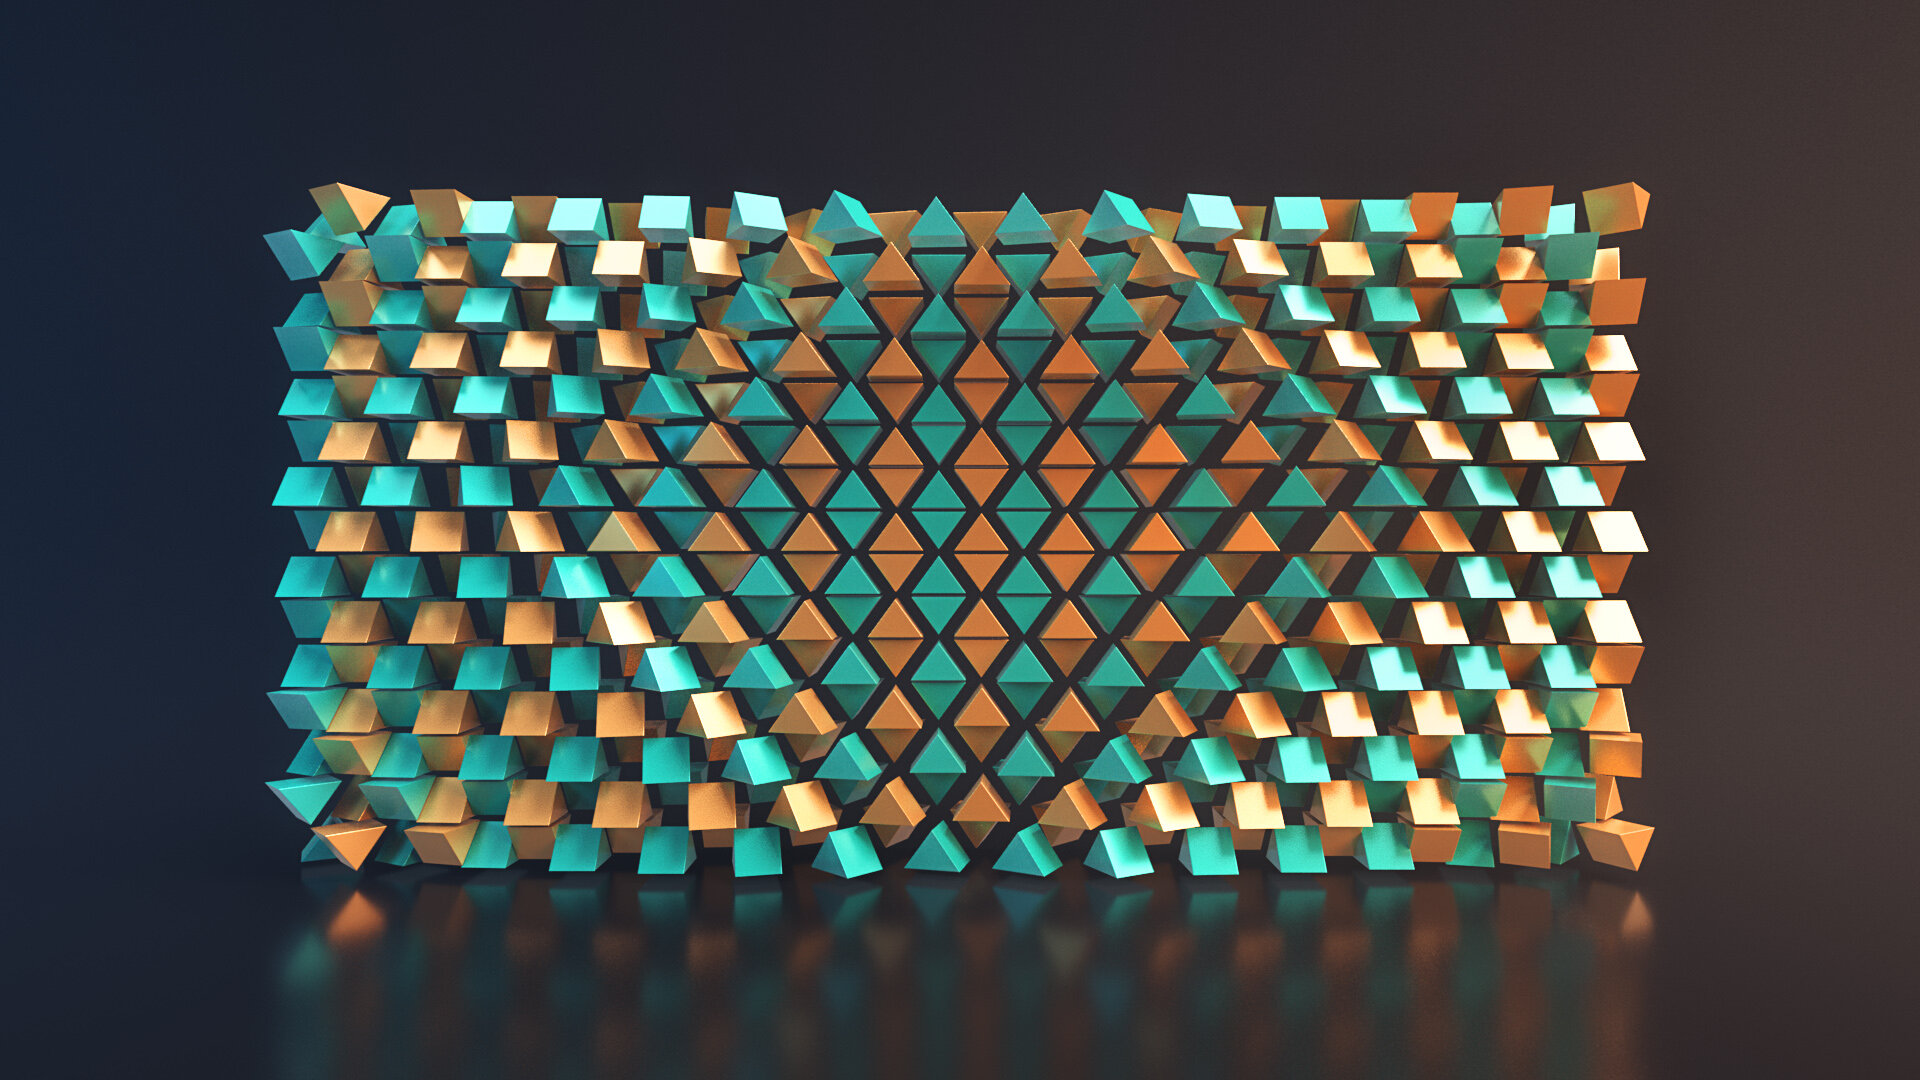

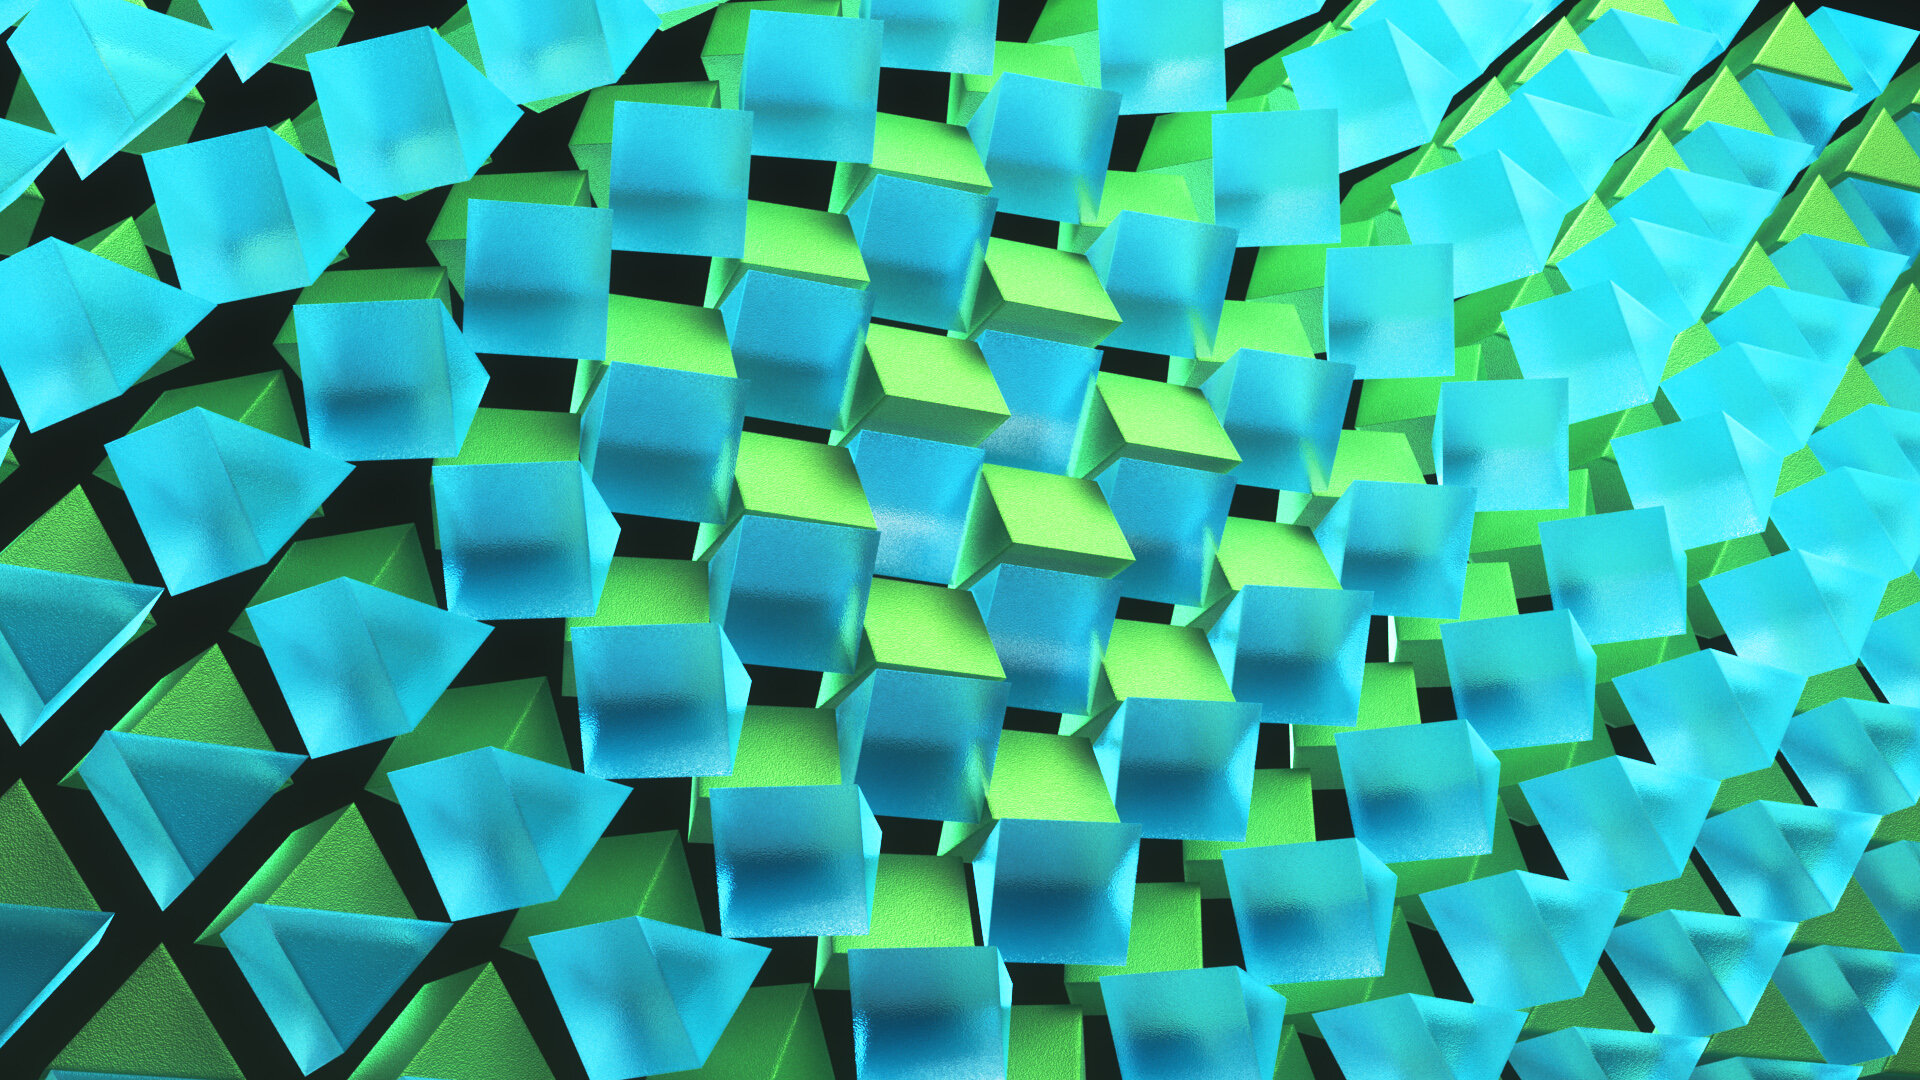
Tutorial
Documentation
General Notes
The Kinetic Wall Creator relies on a set of named locators and elements (mesh transform nodes) to perform kinetic wall features located in the creation, geometry, animation and selection tabs. The selection sets are the only features that do not rely on these sets and can be used independently from the kinetic wall.
The kinetic wall is based on individual elements parented to a locator, these are named by row(R) and column(C) to identify its position in the wall, do not change their names since the tools rely heavily on their naming convention to perform operations.
Elements are locked as references by default for ease of selection, elements can be selected in the selection tools (choose “Select Elements” in the drop down menu) or can be unlocked/locked in the geometry tab.
The animation tools apply animation keys to locators only, thus allowing the elements to have their transforms intact from the animation for an extra level of customization (manually set by the user).
Geometry Tools apply to elements only, thus allowing locators intact to preserve animation.
Selection Tools are presented in a separate window in order to be used along with the geometry and animation tools. Selection Tools apply to both locators and elements.
Creation Tools
Create by Wall/Element Dimensions
Crates a Kinetic_Wall_GRP with specific kinetic wall attributes that are called to perform operations. Only one Kinetic_Wall_GRP is supported at the time in the scene.
Allows you to input the number of elements in length/height and set element size dimensions.
Adjust by Wall/Element Dimensions
Scales the element dimensions and positions them accordingly to fit the new dimensions of an existing wall.
Load Selected Kinetic_Wall_GRP
Loads specific kinetic wall attributes to be used by the tool. This allows the user to continue working on saved files, previous history will not be loaded.
Element Type:
Currently the Kinetic Wall Creator only supports cube, triangle (3-sided cylinder), cylinder, pyramid and sphere primitives.
Elements in Length/Height:
Number of elements to be created. Total length/height will be multiplied with element’s length/height.
Element Length/Height/Depth:
Dimensions for individual elements.
Element Offset:
Offset amount within element dimension to create a gap between elements.
Example: Offsetting value of 0.1 for a 1x1x1 cube element will result in a 0.8x0.8x0.8 cubes with a 0.2 gap between each other.
Geometry Tools
Application Type:
These tools can be applied to all the elements in the kinetic wall (“Apply to All”) or the current selection (“Apply to Selection”). If it is set to apply to selection the tool will look for all locators/elements in the selection, it will get the elements of the locators even if the elements are not selected and discard other nodes that are not a locator/element.
The Geometry Application type is linked with the Animation Application Type.
Transform Options:
You can keep transforms from previous elements or reset them when using the Replace Elements feature. It is useful if you customize the elements transforms.
Replacement Element:
You can type the element you want to replace. Use the transform node of the new element, don’t use the mesh node.
Assign Selected as Replacement:
It will fill the replacement Element field with the selected object, it only accepts a single mesh transform node.
Replace Element:
It will create a duplicate of the replacement in order to delete all history and reset the transforms, the original object will be hidden in “KW_Original_Replacement_GRP”.
Lock/Unlock Elements:
By default elements have their display override as reference for ease of locator selection.
Face Projection:
Only works with a Kinetic Wall primitive cube as an element; it will create a UV map of the kinetic wall for each of the cube’s faces in their corresponding position and assigned Arnold materials to each face (if it doesn’t find the Arnold mtoa module, will default to Maya material).
Useful to project image/video files and make transitions.
Animation Tools
Application Type:
These tools can be applied to all the elements in the kinetic wall (“Apply to All”) or the current selection (“Apply to Selection”). If it is set to apply to selection the tool will look for all locators/elements in the selection, it will get the elements of the locators even if the elements are not selected and discard other nodes that are not a locator/element.
The Animation Application type is linked with the Geometry Application Type.
Apply Animation Preset:
There are 2 main animation presets, each with 3 different types of selection (Checker/Column/Row), each of these with 2 rotation axis (Y and Z) for a total of 12 presets.
Applying this preset will reset all keyframes within the specified time frame (Time Start/End)
Time Start/End:
Applies the animation preset/offset to the set timeframe. When offsetting the animation, it will update the frames to include all keyframes from the offsetting result.
Offset Amount:
The amount in keyframes that the animation will be offset.
Offsets:
There are six directions to offset the animation. If “apply to selection” is selected, the offset center options will determine the center of the selection.
Reset Animation:
It will delete all animation in the kinetic wall
Add Current to History:
It will add the current transform values and animation keyframes to the history, use it if you change the animation manually.
Undo/Redo:
History of the elements will automatically be recorded while using the animation tools to apply preset animations of offsetting, it won’t record any changing of transforms or new keyframes done outside the animation tools, use the add current to history in case you want to revert changes.
Selection Tools
Selection Type:
You can choose to select Locators or Elements, it will select elements regardless of their drawing overrides (locked/unlocked)
Selections:
Two main selections: "Select All” and “Select Inverse”.
There are 8 selection options that can be added (Press Shift) or subtracted (Press Ctrl) to the current selection.
Selection Sets:
There are 10 selection sets by default, you can add selection sets up to a total of 20 selection sets.
To clear a selection set, right-click will open a menu with a “clear selection” option.


